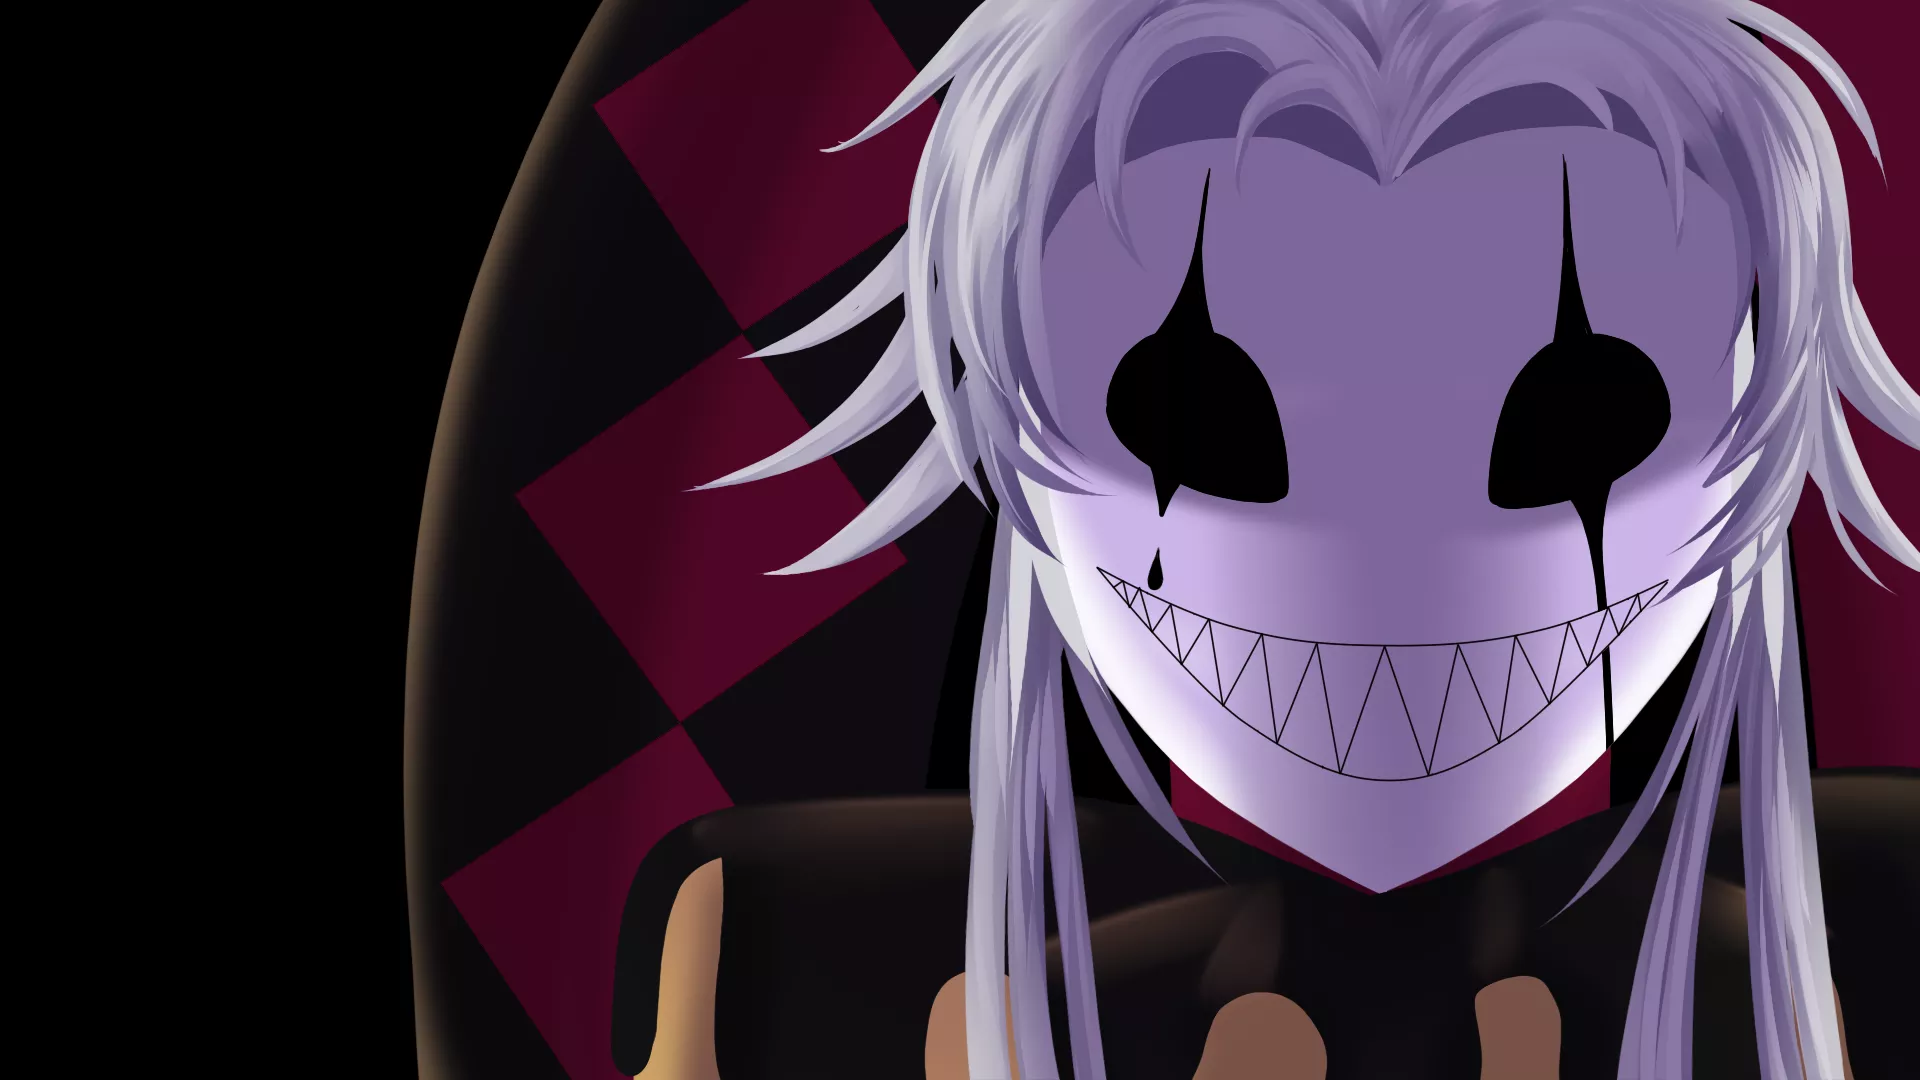
Ringmaster Confrontation Guide
The Ringmaster — Teresa — is the puppet master behind everything. The confrontation with her is the climax of every route, and the dialogue choices here determine your ending. This guide covers every possible outcome.
⚠️ ENDGAME SPOILERS — Read only if you're stuck at the final confrontation.
👑 Understanding the Ringmaster
The Ringmaster is not a traditional "boss" — there is no combat. Instead, the confrontation is a dialogue battle where your words and knowledge determine the outcome. Think of it as a verbal chess match.
Her Powers
- • Controls the circus environment
- • Can manipulate memories
- • Commands all circus performers
- • Can reset the "day" loop
Her Weaknesses
- • Her true name (TERESA)
- • Genuine human emotion
- • Knowledge of the circus's origin
- • The bond between you and a performer
⏰ When Does the Confrontation Happen?
The Ringmaster confrontation triggers at the end of Day 2, but the exact timing depends on your route:
Pierrot's Route
After the Mirror Maze, when Pierrot tries to take you away from the circus
Harlequin's Route
After Harlequin's Dance scene, when he challenges the Ringmaster's authority
Truth Path
After finding the diary and solving the Morse code, when you confront her directly
Doctor's Route
After accepting the sedative, in a dream sequence
🎭 Pierrot Route — Dialogue Guide
On Pierrot's route, the Ringmaster tries to convince you that Pierrot is dangerous and that leaving with him will destroy you both.
Phase 1: "He's a Monster"
Shows understanding. Pierrot Affection +3.
Acceptable but no bonus. Pierrot Affection +1.
Pierrot Affection -5. Leads to "Porcelain Doll" bad ending.
Phase 2: "The Curse Will Follow"
The key phrase. Unlocks the "Tearless Face" ending.
Optimistic but naive. Leads to Normal Ending.
Triggers Pierrot's possessive response. Bad ending.
Phase 3: Final Choice (Timed — 10 seconds)
The definitive True Ending choice. Pierrot removes his mask willingly.
🃏 Harlequin Route — Dialogue Guide
On Harlequin's route, the Ringmaster tries to expose his past — specifically, what he did to Columbina — to turn you against him.
Phase 1: "He Killed Columbina"
Shows you understand his complexity. Requires having seen Columbina's Memory scene.
Harlequin shuts down. Leads to "The Final Trick" bad ending.
Phase 2: "You're Just His New Toy"
Bold and assertive — exactly what Harlequin respects.
Begging. Harlequin loses all interest. Bad ending.
Phase 3: Final Choice (Timed — 10 seconds)
Requires having Jester's Original Mask in inventory. You and Harlequin destroy the binding contract together.
🔮 Truth Path — Dialogue Guide
The Truth path confrontation is unique — you are not fighting the Ringmaster, but reaching out to Teresa, the person trapped behind the title.
Step 1: Use Her Name
Choose "I know who you really are, Teresa." — This breaks her composure for the first time.
Step 2: Show Empathy
Choose "Why did you do this?" instead of accusing her. This triggers the Ringmaster's Tear hidden scene.
Step 3: The Truth
Choose "I know the truth — this is a loop." — Jester appears and the meta-narrative begins.
Step 4: Final Choice
"Close the curtain" = Peaceful ending, menu changes permanently. "Watch the show again" = Returns to title, but with new dialogue options in future playthroughs.
💡 Confrontation Tips
Save immediately before the confrontation begins. There are multiple dialogue phases and one wrong choice can ruin your ending.
The Ringmaster adapts her arguments based on your affection scores. Higher affection means she tries harder to break your resolve.
On the Truth path, you MUST have the diary, the Morse code solution, and all 7 café fragments. Missing any one locks you out.
The final timed choice (10 seconds) is the same across all routes. Don't panic — read all options before choosing.
If you're going for Harlequin's True Ending, make sure you have Jester's Original Mask. Without it, 'Burn the contract' won't appear as an option.
Need help with specific routes or endings?
